Hello!
So, this weekend was my first big event during my time at Venmo: BattleHack Boston.
Now, I've done a lot of hackathons, on the participating, planning, and sponsoring side.
This hackathon beat almost every single one. The PayPal/Braintree team that put it together (and lovingly allowed me to join them) was so organized and well-prepared, I can't say anything negative about the event!
It all started with the set up the night before.
There was TONS of swag.
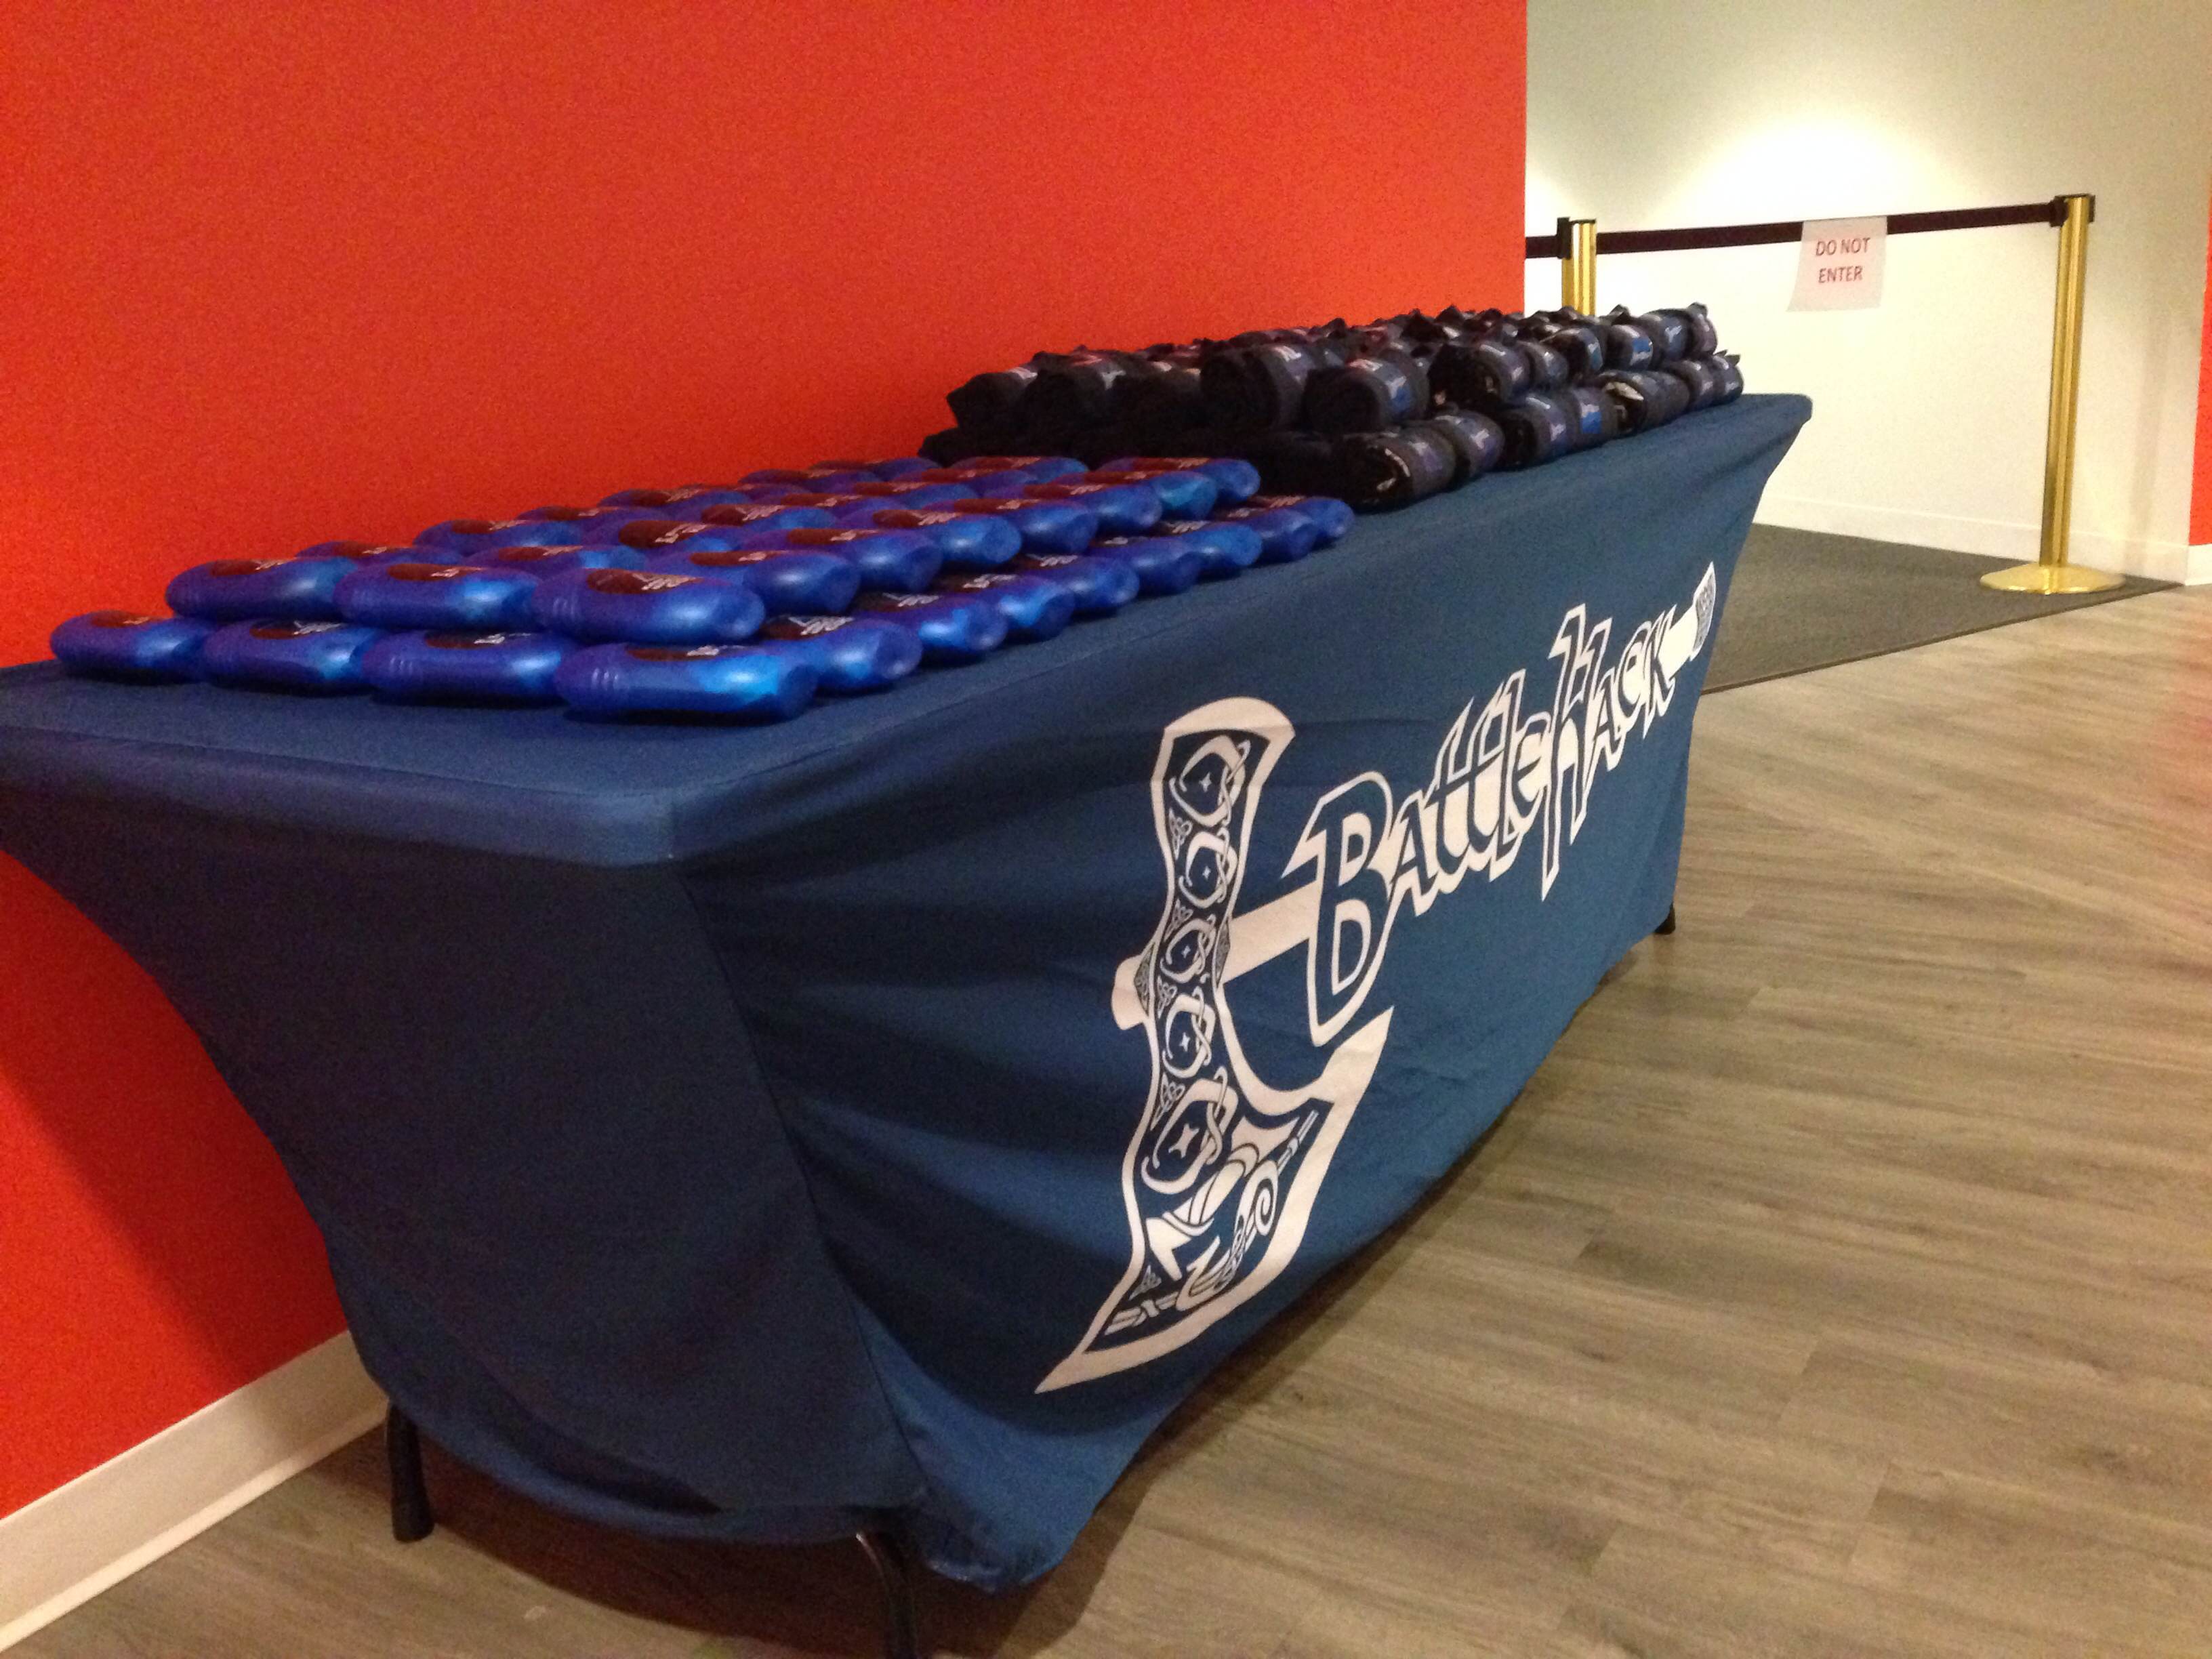
It felt like the swag and props were never ending. Which is a good thing.

When I first heard the term, "BattleHack," I admit I was afraid it'd be a little cheesy.
But this was far from it. This hackathon was epic. Even just from prep day, I could tell that it was going to be a really smooth, impactful event.
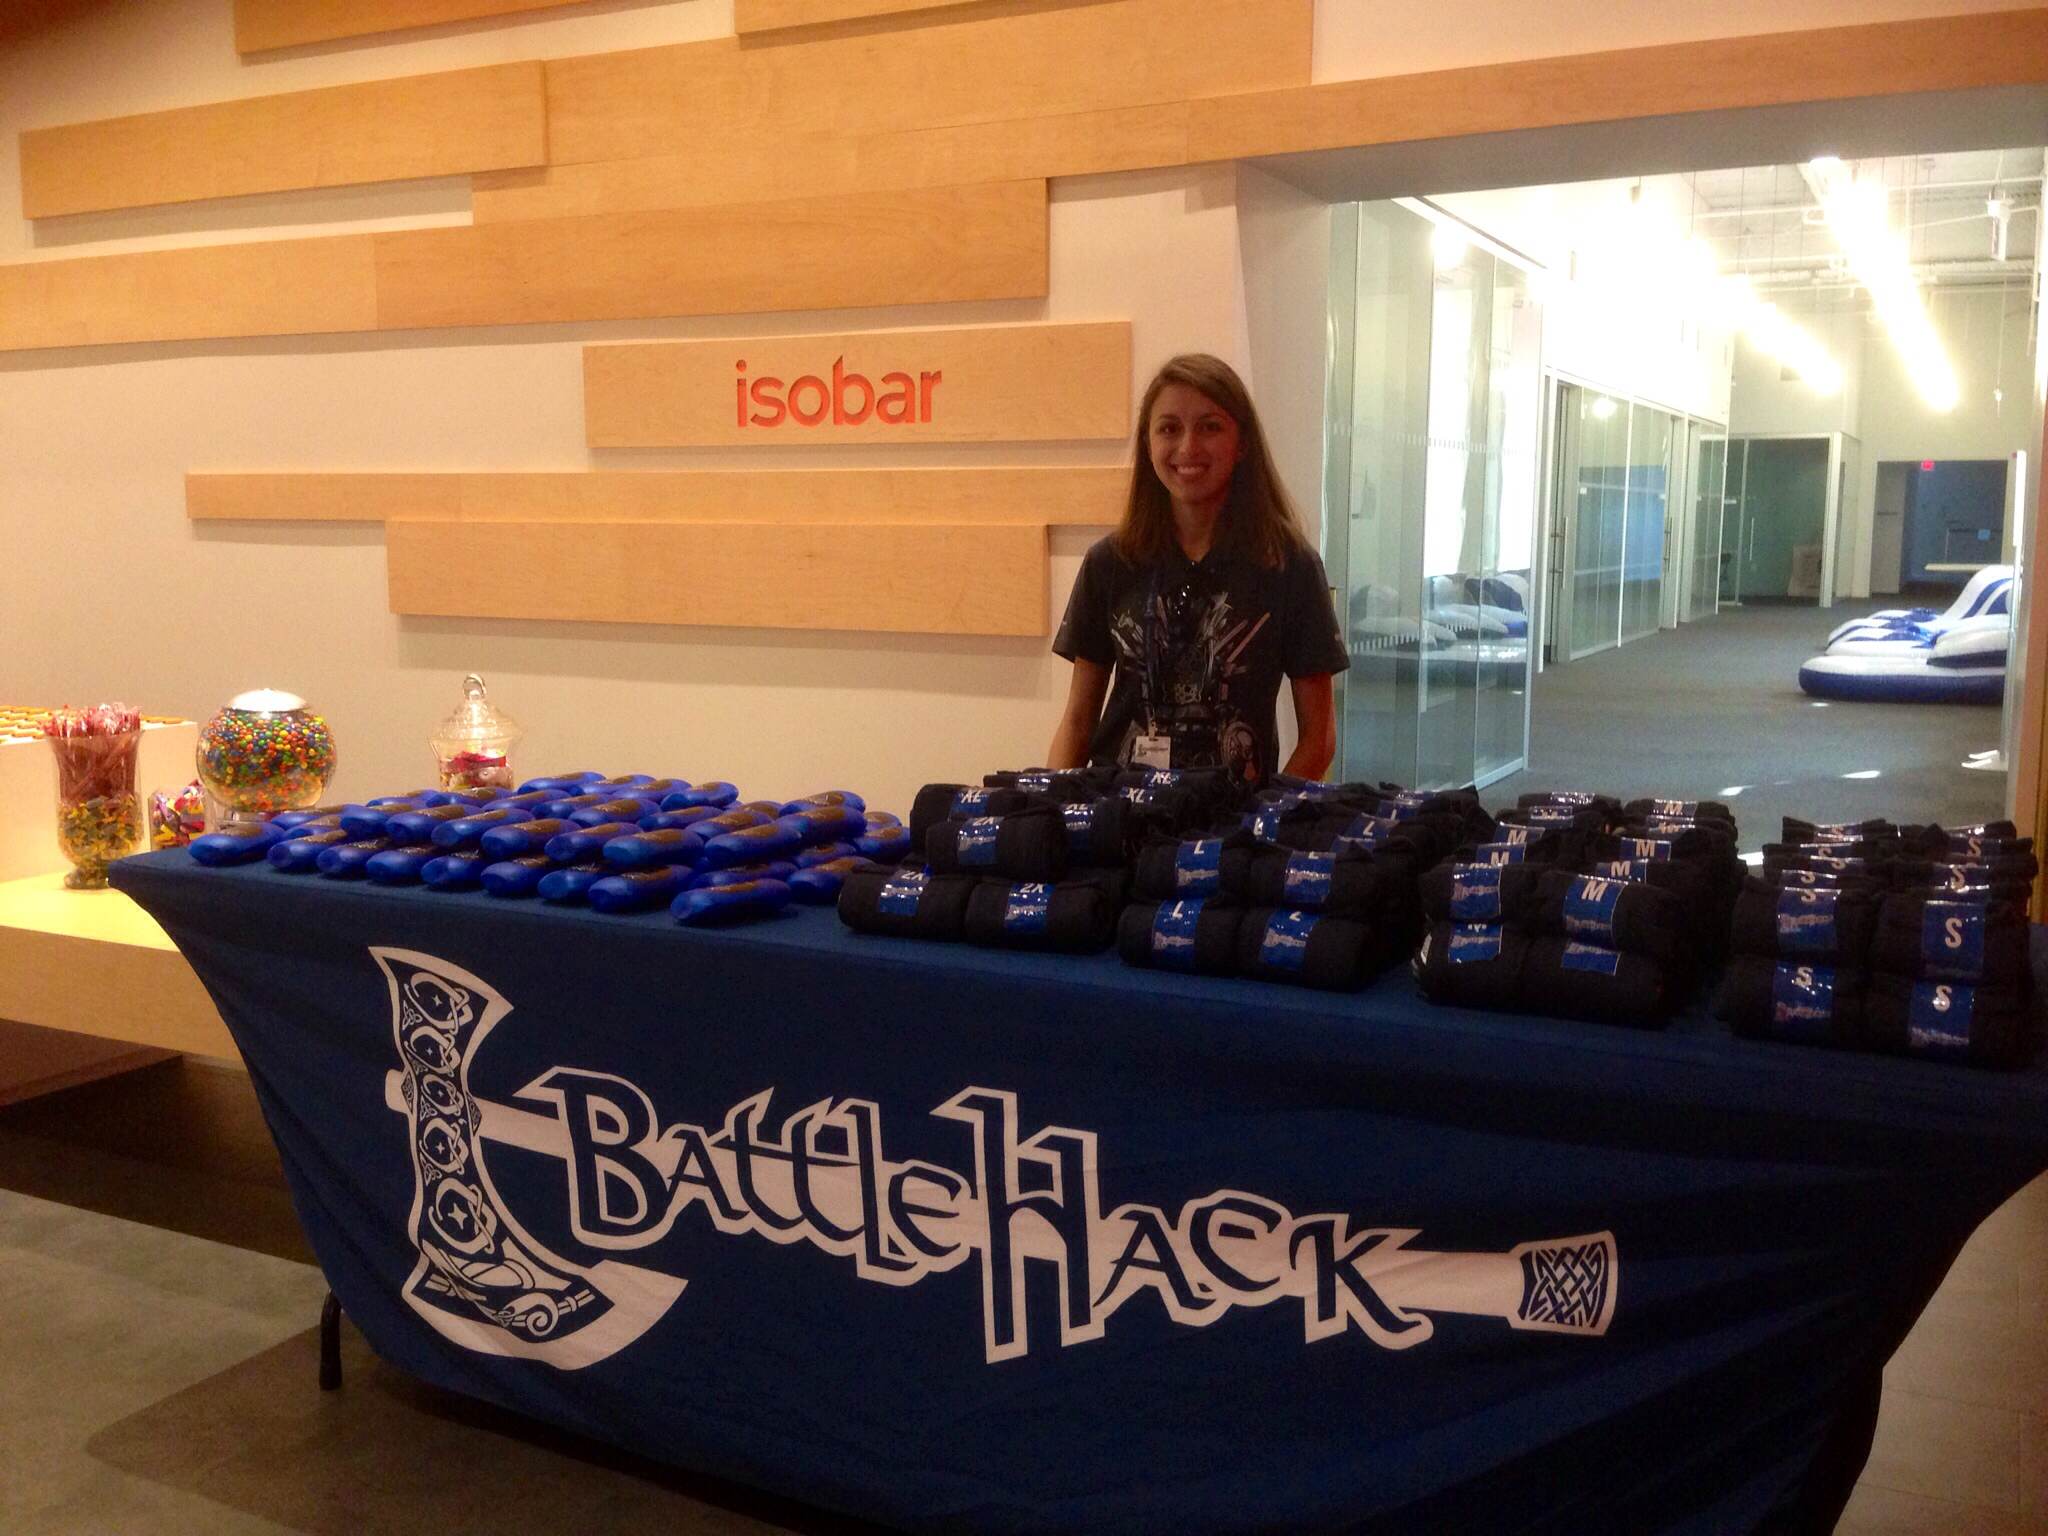
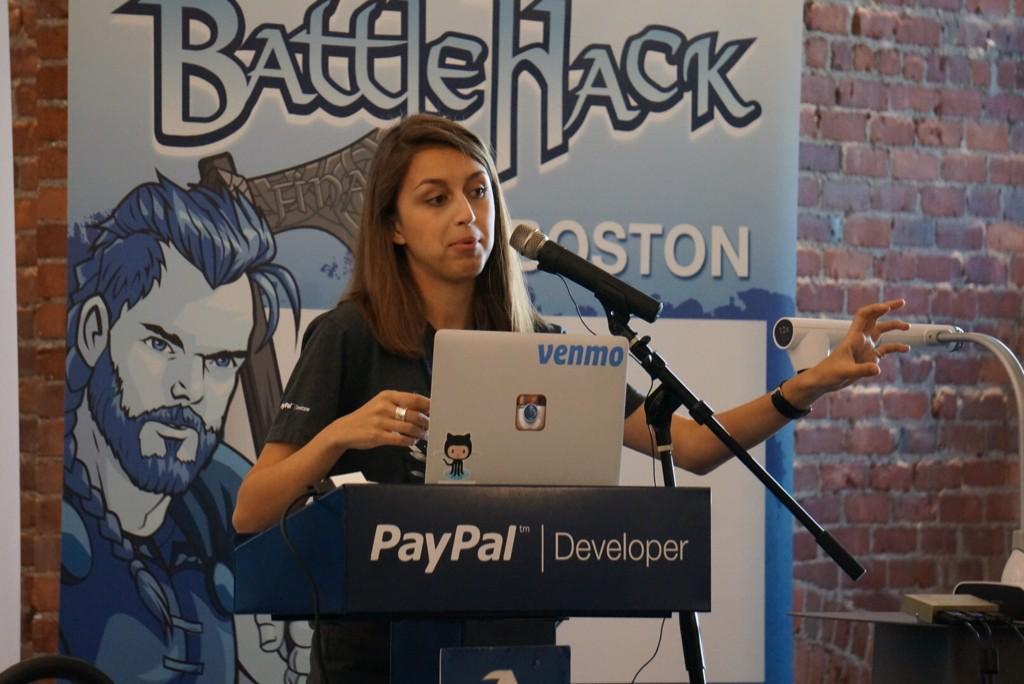
So, on the day of the event, we all got to our stations early. I was in charge of the swag table. For those of you who know me well, you know just how perfect that position was for me.
Few people really appreciate good swag. I thrive on it.
From the beginning, we were loaded up with absolutely delicious food. It was actually shocking how well they fed us.
We started with bagels (with a wide variety of toppings) on the first day, and throughout the event we had a waffle bar, a grilled cheese bar, lobster rolls, clam chowder, Italian food, Asian cuisine, candy, beer, pop, juices and teas, coffee... I could actually make a whole post about the food, but we have more important things to discuss. But seriously. Well done on the food, BattleHack team.

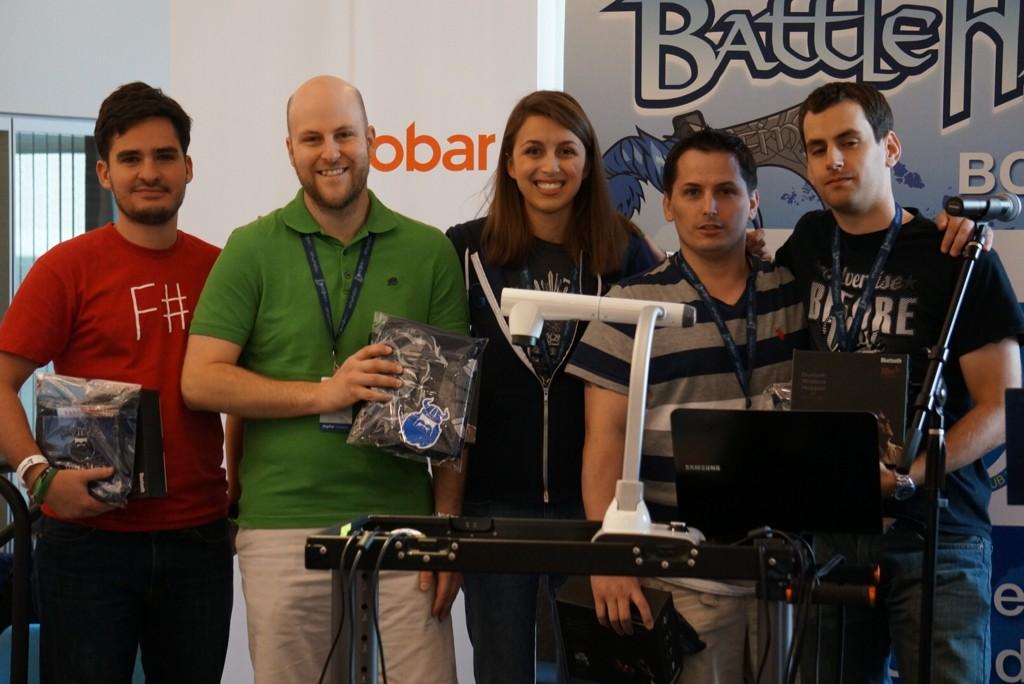
Before we kicked off the event, Matt Hamilton (also a Venmo rep) and I struck a pose. Because you simply couldn't resist those costumes.

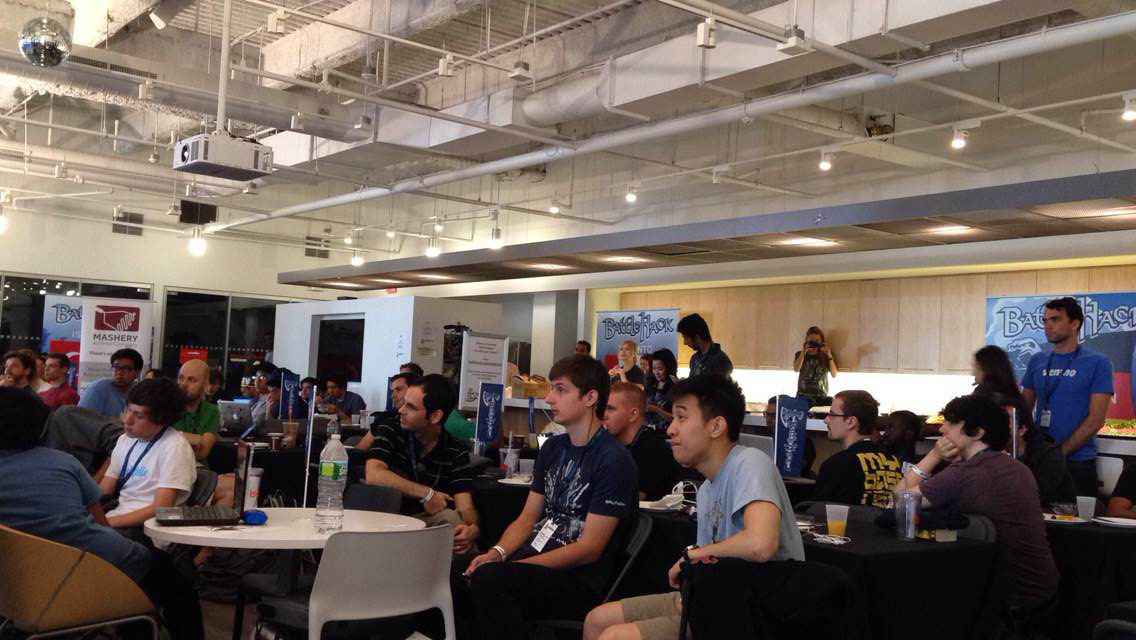
The room got crowded fast. This hackathon was geared towards anyone 18 or older, so we had a really wide range of people. The intros to the event were pretty standard, but well done. They talked about the importance of hacking for social good, and the structure of BattleHack (it's a global competition, you can check out their website here).
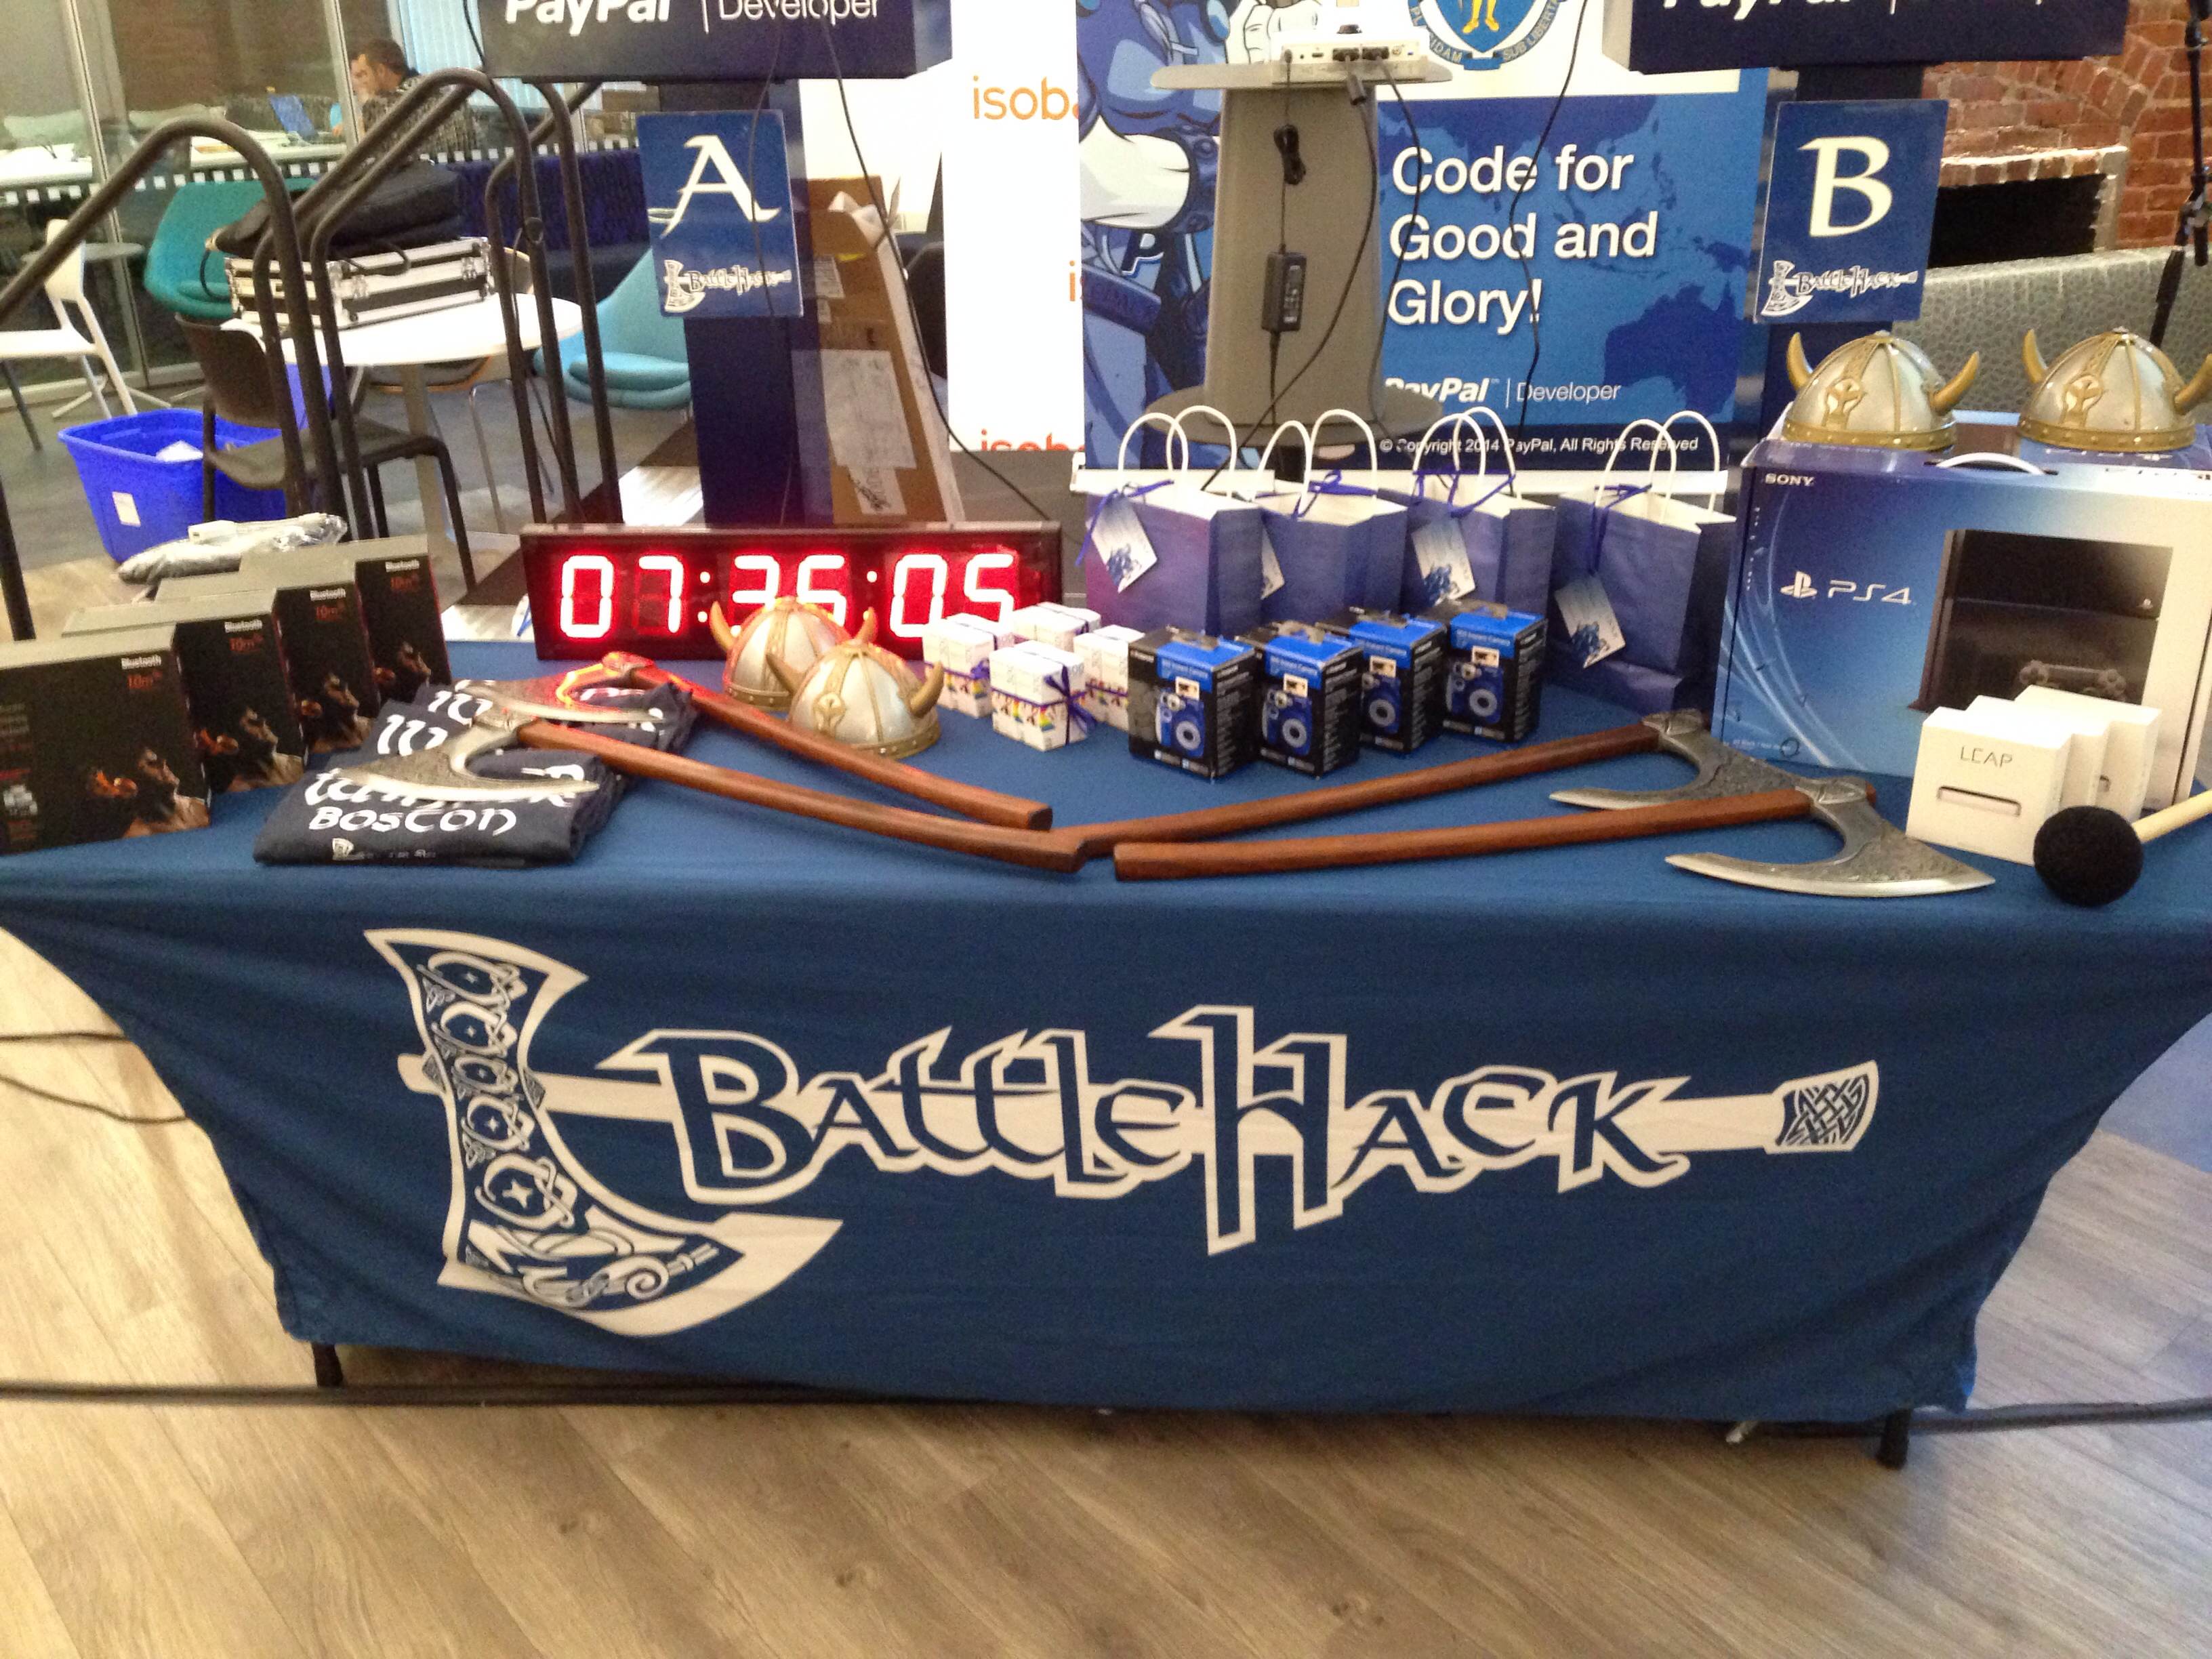
And of course, we had to talk about the prizes. Throughout the event there would be smaller prizes for Best Progress and for Best Tweet, but the big prizes for hacks consisted of PS4s, cameras, and a chance to win $100,000 after being flown out to California on PayPal/Braintree's dime.
Once people settled down about the awesomeness of the prizes, we got to demos and rules. In order to be eligible for the big prizes, one had to use a PayPal, Braintree, or Venmo API. One could still win partner prizes from the companies Twilio, Mashery, SendGrid, and Context.io if you used their technologies. I had the pleasure of demoing the Venmo iOS SDK.
Once demos were done, it was lunchtime. Everyone was eating and pitching ideas and putting together teams. Hackers had been able to pitch ideas on video before the event started, so some people knew what they were doing, and others were starting completely clean.
Finally, just before 1PM, we had a big countdown to start. We banged the gong, and we were off! Teams quickly started sketching out ideas and setting up their stations.
Over the next few hours, Matt and I were approached several times about using the Venmo API, which was great. The PayPal/Braintree dev evangelists kept thanking us on the side for coming. They said that Venmo has been one of the most popular APIs of the entire BattleHack competition so far, and they loved having us there to help.
Time went on, more food was served throughout the night. The BattleHack team brought in professional masseuses (holy crap, am I right?) and soon Matt's and my shift was over. We were able to leave at about 9, as long as we got back by 4AM. That was one of the things I appreciated about the planning that went into BattleHack; designated shifts aren't always thought of for the staff of hackathons.
After a nearly sleepless night, I got back at 4 and started circling the room looking for the Best Progress award. Teams had been working hard. Some included hardware components, some were trying to use every API available. It was very impressive to see the work being done. Eventually, the team we decided had the Best Progress was FundRunner, an application that assisted those running and those donating to people running in various races for charity. It checked when certain milestones were hit using geolocation, it texted donors when their maximum donation amount was hit, it sent emails... their work so far was pretty darn solid.
Throughout the morning, Matt and I were hit up with Venmo questions. Some were pretty technical, some were simply, "why would I use Venmo over PayPal?" But overall, we were kept busy. Matt and I took notes of flaws on our end and desires on the developers' end for future reference.
Rehearsals were another big part of Sunday morning. Every team practiced their pitches (which were going to be 2 minutes long) and got feedback from the BattleHack team. This is another part of the hackathon that I appreciated and don't often see. People in general, without feedback, aren't successful without an outside perspective.
And finally, after a lip-smacking lunch of lobster rolls and a grilled cheese bar, it was time for presentations. There were some really cool ones, and quite a few using Venmo! A few cool ones where:
- AgriGate, an "Etsy for farmers" that allowed farmers to post their produce for people to buy, and included a hardware component of a packing slip being printed
- Street Music is a platform that connects users to street performers to legitimize their profession and allows donation through Venmo and PayPal (they kicked off their presentation by singing, I was impressed)
- HaveKnow proves your identity for emergency rescue payments when you've lost your ID and/or wallet, and lets you pay people with PayPal/Venmo after they give you cash
- Honk is a license plate-based messaging app that allows users to send compliments and constructive criticism to drivers (sent in the form of a Venmo charge/payment)
- FundMatch is a web-based platform dedicated to efficient giving for nonprofits and allows donations through PayPal (the cool part of this one was they took in organization emails and information and parsed them into an easy-to-read form for donors to understand)
- Pothole Sonar app uses audio to enhance the awareness of mobile users to the dangerous potholes nearby and compiles pothole data
- Nome (short for "metronome") is a "git for music" where people can collaborate on music projects and donate to other musicians with Venmo
There were a bunch more, and overall the event was so cool. The winners of the event made "Late Night Safety Kit," an app with tools that allows a user to stay safe by sending alerts for crime and to the police station in the area.
And so, as the BattleHack saying goes: City Conquered!
I had to run off after the presentations for my train back to NYC. Overall, I genuinely enjoyed my time at BattleHack Boston. The planning team was a well-oiled machine, on top of every single nuance. I loved helping them and being a part of such an impressive event.

Until next time! :)
The web team here at Venmo works almost entirely in JavaScript. One function we use often is bind. Let's take a look at what's going on here.
Here's a simple example of how you might use bind:
var obj = {
  foo: function() {
    console.log(this);
    this.name = 'baz';
    (function() {
      console.log('inside func');
      console.log(this.name);
    }.bind(this))();
  }
}
obj.foo();
// Object {foo: function}
// inside func
// baz
In the example above, bind allows the function inside of foo's outer function to have access to this.name. If we did not bind then this.name would return undefined. And it would do so because this now refers to the global object. No good if we want to be able to work with the same this in a nested function.
So what is going on behind the scenes with bind? What's this sneaky guy doing? Well, bind returns a function with new or added context, optionally adding any additional supplied parameters to the beginning of the arguments collection. Let's take a look at a rewrite below.
Function.prototype.bind = function(ctx) {
  var fn = this;
  var args = arguments.slice(1);

  return function() {
    return fn.apply(ctx, args.concat(arguments));
  };
};
So, let's go through it:
- Bind takes a context (
ctx).
- The function on which
bind will be called is this
- The arguments (
args) passed into the function include everything but the first argument, ctx
bind returns a new function that applies ctx and args to the original fn
This is essentially how bind returns a function that will execute in a given context.
To really hammer it home, let's take a look at an instance where we do not use bind:
$('.gist-author img').click(function() { // my avatar image on gist.github.com :-P
  console.log(this);
  (function() {
    console.log('inside');
    console.log(this);
  })();
});
// if you click that image, you'll get the following...
// <img src="https://avatars1.githubusercontent.com/u/4968408?s=140" width="26" height="26">
// inside
// Window {top: Window, window: Window, location: Location, external: Object, chrome: Object…}
Yikes. If we want to perform a function on the original this -- in this case, img -- we can't. Inside the inner function, this refers to the window because this defaults to window when inside a jQuery function. This is the problem that bind tries to solve: to allow us to be specific with our context.
Awesome. I hope that's helpful. It certainly helps us at Venmo.
Until next time,
Sarah Ransohoff
We've recently started using ReactiveCocoa in the Venmo iOS app, and we've found that it provides an expressive, unified alternative to patterns like callback blocks, delegate methods, target-action, notifications, and KVO. If you haven't heard of ReactiveCocoa or Functional Reactive Programming (FRP), we recommend starting with this awesome post by Josh Abernathy and the official introduction. In this post, we'll walk through implementing a simple reactive user interface, with and without ReactiveCocoa. Hopefully, we'll inspire you to start experimenting with FRP on your own!
We'll be working on a simple signup form that looks like this:
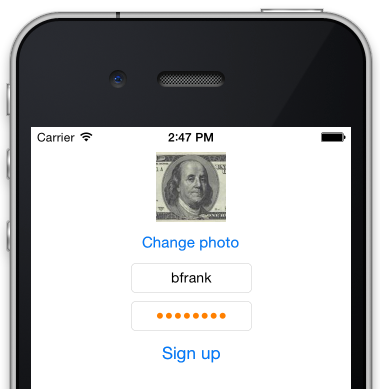
Let's start with the top of the form, where the user can add or change their profile photo.
//  SignupViewController.h
// ...
@property (weak, nonatomic) IBOutlet UIImageView *imageView;
@property (weak, nonatomic) IBOutlet UIButton *photoButton;
// ...
The photoButton's text should be either "Add photo" or "Change photo", depending on whether or not a photo has been added, and the imageView's image should be the currently chosen photo. Here's a reasonable imperative implementation:
(1a) Imperative
//  SignupViewController.m

#import "SignupViewController.h"

@interface SignupViewController ()

@property (strong, nonatomic) UIImage *photo;

@end

@implementation SignupViewController

- (void)viewDidLoad {
    [self.photoButton addTarget:self
                         action:@selector(photoButtonAction)
               forControlEvents:UIControlEventTouchUpInside];
}

- (void)setPhoto:(UIImage *)photo {
    _photo = photo;
    self.imageView.image = photo;
    if (photo) {
        [self.photoButton setTitle:@"Change photo"
                          forState:UIControlStateNormal];
    } else {
        [self.photoButton setTitle:@"Add photo"
                          forState:UIControlStateNormal];
    }
}

- (void)photoButtonAction {
    UIImagePickerController *imagePicker = [UIImagePickerController new];
    imagePicker.delegate = self;
    [self presentViewController:imagePicker animated:YES completion:nil];
}

- (void)imagePickerController:(UIImagePickerController *)picker didFinishPickingMediaWithInfo:(NSDictionary *)info {
    self.photo = [info objectForKey:UIImagePickerControllerOriginalImage];
    [self dismissViewControllerAnimated:YES completion:nil];
}

@end
Imperative programming involves describing how to do something. Reactive programming, on the other hand, involves describing what something is, using streams of values. Here's an equivalent implementation, with ReactiveCocoa.
(1b) Reactive
//  SignupViewController.m

#import "SignupViewController.h"
#import <ReactiveCocoa/ReactiveCocoa.h>
#import <libextobjc/EXTScope.h>

@interface EditProfileViewController ()

@property (strong, nonatomic) UIImage *photo;

@end

@implementation SignupViewController

- (void)viewDidLoad {
    [super viewDidLoad];
    [self configureImageView];
    [self configurePhotoButton];
}

- (void)configureImageView {
    RAC(self.imageView, image) = RACObserve(self, photo);
}

- (void)configurePhotoButton {
    @weakify(self);
    [RACObserve(self, photo) subscribeNext:^(UIImage *image) {
        @strongify(self);
        if (image) {
            [self.photoButton setTitle:@"Change photo"
                              forState:UIControlStateNormal];
            return;
        }
        [self.photoButton setTitle:@"Add photo"
                          forState:UIControlStateNormal];
    }];
    [[self.photoButton rac_signalForControlEvents:UIControlEventTouchUpInside]
     subscribeNext:^(UIButton *button) {
        @strongify(self);
        UIImagePickerController *imagePicker = [UIImagePickerController new];
        imagePicker.delegate = self;
        [self presentViewController:imagePicker animated:YES completion:nil];
    }];
}

- (void)imagePickerController:(UIImagePickerController *)picker didFinishPickingMediaWithInfo:(NSDictionary *)info {
    self.photo = [info objectForKey:UIImagePickerControllerOriginalImage];
    [self dismissViewControllerAnimated:YES completion:nil];
}

@end
Our reactive code is more linear than our imperative code, but also arguably more difficult to parse. It's hard to see the value of reactive programming at this level of complexity, but as we add more functionality, we'll begin to see the benefits of choosing ReactiveCocoa.
To finish our form, we'll need a username field, a password field, and a submit button. The submit button should only be enabled when we've added a photo and entered a username and password. For some extra reactivity, let's make each text field's text turn orange while editing.
//  SignupViewController.h
// ...
@property (weak, nonatomic) IBOutlet UITextField *usernameTextField;
@property (weak, nonatomic) IBOutlet UITextField *passwordTextField;
@property (weak, nonatomic) IBOutlet UIButton *submitButton;
/// ...
First, let's try updating our imperative implementation from (1a).
(2a) Imperative
- (void)viewDidLoad {

    // ...

    [self.usernameTextField addTarget:self
                               action:@selector(textFieldDidChange:)
                     forControlEvents:UIControlEventEditingDidBegin | UIControlEventEditingChanged | UIControlEventEditingDidEnd];
    [self.passwordTextField addTarget:self
                               action:@selector(textFieldDidChange:)
                     forControlEvents:UIControlEventEditingDidBegin | UIControlEventEditingChanged | UIControlEventEditingDidEnd];
    [self updateSubmitButton];
}

- (void)setPhoto:(UIImage *)photo {

    // ...

    [self updateSubmitButton];
}

// ...

- (void)textFieldDidChange:(UITextField *)sender {
    [self updateSubmitButton];
    [self updateTextFieldColors];
}

- (void)updateSubmitButton {
    self.submitButton.enabled = self.photo
        && self.usernameTextField.text.length > 0
        && self.passwordTextField.text.length > 0;
}

- (void)updateTextFieldColors {
    self.usernameTextField.textColor = self.usernameTextField.editing ?
        [UIColor orangeColor] : [UIColor blackColor];
    self.passwordTextField.textColor = self.passwordTextField.editing ?
        [UIColor orangeColor] : [UIColor blackColor];
}
Dealing with state is messy in the imperative world. Our code has become rather difficult to understand — we update the submit button in three different places, setPhoto: has three side effects, and in general, things seem to be happening all over the place. Also, notice that modifying our imperative implementation required touching nearly everything we'd written in (1a). Adding functionality usually means adding new events and states. In the imperative world, we have to respond to discrete events and state changes and make sure everything stays up to date, resulting in less linear, more tightly coupled code that's more difficult to understand and update.
Let's try updating our reactive implementation.
(2b) Reactive
- (void)viewDidLoad {

    // ...

    [self configureTextFields];
    [self configureSubmitButton];
}

// ...

- (void)configureTextFields {
    RAC(self.usernameTextField, textColor) =
    [RACObserve(self.usernameTextField, editing) map:^UIColor *(NSNumber *editing) {
         return editing ? [UIColor orangeColor] : [UIColor blackColor];
    }];

    RAC(self.passwordTextField, textColor) =
    [RACObserve(self.passwordTextField, editing) map:^UIColor *(NSNumber *editing) {
         return editing ? [UIColor orangeColor] : [UIColor blackColor];
    }];
}

- (void)configureSubmitButton {
    RAC(self.submitButton, enabled) =
    [RACSignal combineLatest:@[RACObserve(self, photo),
                               self.usernameTextField.rac_textSignal,
                               self.passwordTextField.rac_textSignal]
                      reduce:^NSNumber *(UIImage *photo, NSString *username, NSString *password){
        return @(photo && username.length > 0 && password.length > 0);
    }];
}
Updating our reactive implementation hardly required any changes to what we wrote in (1b), and the resulting code is much more linear. Because state changes propagate automatically, we can define the flow of state rather than responding to discrete events. Even in this simple example, reactive programming has empowered us to write code that's easier to understand and maintain.
We've only scratched the surface of ReactiveCocoa, but hopefully we've given you a more concrete sense of the power of reactive programming. So go forth, compose signals, minimize state, and put away that spaghetti — let's make lasagna ;)
If you're interested, you can check out the complete example project here.
Testing With React
At Venmo, we’ve started using React on our front-end. React is a javascript library for building reactive (dynamic) user interfaces. We use React for our view layer and Backbone for our data layer. Here you can find a blog post by my colleague Thomas Boyt on how we leverage both of these awesome libraries.
Why React?
As our client-side apps grew in size, maintaining and testing our Backbone views became a burden. React ships with JSX, Javascript XML Syntax Transform, which greatly reduces the amount of complexity that large views incur over time by providing a new way to construct your app’s markup. Backbone views rely on templating and selectors for inserting elements into the DOM, while React components are declarative.
If you're looking for more information on why you should consider replacing Backbone.View with React, check out Clay Allsopp's awesome blog post- From Backbone to React.
Here’s an example of how both libraries approach constructing app markup.
// Backbone
define(['./view'], function(View) {

  var BackboneView = Backbone.View.extend({

    render: function() {
      this.$el.html(_.template($('#skeleton_template').html()));
      this.$('.container').html(new View().render().el);

      return this;
    }

  });

});

// React
define(['./view'], function(View) {

  var ReactComponent = React.createClass({

    render: function() {
      return (
        <div className='container'>
          <View />
        </div>
      );
    }

  });

  return ReactComponent;
});
At first glance, the difference may seem trivial. But over time your views will gain complexity and a simple Backbone view like the one above may end up manually populating several containers, each with its own markup. The React approach is much easier to reason about and moves the concerns of markup construction into the JSX block.
Testing
Why does this point matter? Well, a test that would have looked like this:
it('renders 3 comments', function() {
  var comments = new CommentsCollection(commentFixtures);
  var commentList = new CommentsListView({ collection: comments }).render();

  expect(commentList.$('.comment').length).to.be(3);
});
Now looks like this:
var TU = React.addons.TestUtils;

it('renders 3 comments', function() {
  var commentList = TU.renderIntoDocument(new CommentsComponent({
    collection: new CommentsCollection(commentFixtures)
  }));

  var commentList = TU.scryRenderedDOMComponentWithType(commentList, CommentComponent);
  expect(commentList.length).to.be(3);
});
Testing with React allows your tests to be markup agnostic. This means that React is only concerned with whether or not three instances of CommentComponent exist rather than their markup. The example test written in React is much less brittle because it does not rely on the class name .comment. Thus, if someone were to swoop through the codebase and change a bunch of class names and DOM structure, your tests would still make all the proper assertions. This is a massive step towards building a rock-solid app and test suite.
Here’s another example:
var TU = React.addons.TestUtils;

it('renders a FooForm', function() {
  var app = TU.renderIntoDocument(new App());

  // TU.findRenderedComponentWithType will throw an exception if it’s unable to
  // find any children that have type `FooForm`
  expect(TU.findRenderedComponentWithType).withArgs(app, FooForm)
      .to.throwException();
});
This test is amazing. It simply asserts that our App component contains a FooForm component. We don’t care about how FooForm behaves or what it contains (that’s what spec_foo_form.js is for); we simply care about its existence.
Conclusion
We’re huge fans of tests. Having a solid test suite has helped us avoid regressions, sleep better, and cool our conscience. In an ideal world, regardless of what library you use, your Javascript app would be composed of many small, modular, extendable and test-covered units. By allowing us to write markup-agnostic tests, React brings us a step forward in our never-ending quest for Javascript testing nirvana.
We've been improving our Python test suite at Venmo.
Three months ago, builds were flaky and took 45 minutes; now they’re robust and run in 6 minutes.
This is the first in a series of posts about how we achieved this.
Our goal at Venmo is to connect the world and empower people through payments.
We interact with a variety of external services to accomplish this, including social networks, credit card processors and identity providers.
Over time, our test suite accumulated unmocked interactions with these services.
This slowed down builds and introduced flaky tests.
While we occasionally mocked problematic interactions manually, this was error-prone and annoying for test authors.
We needed an automatic solution -- something that would let us easily mock old and new tests.
Read more →